Tuesday, November 22, 2016

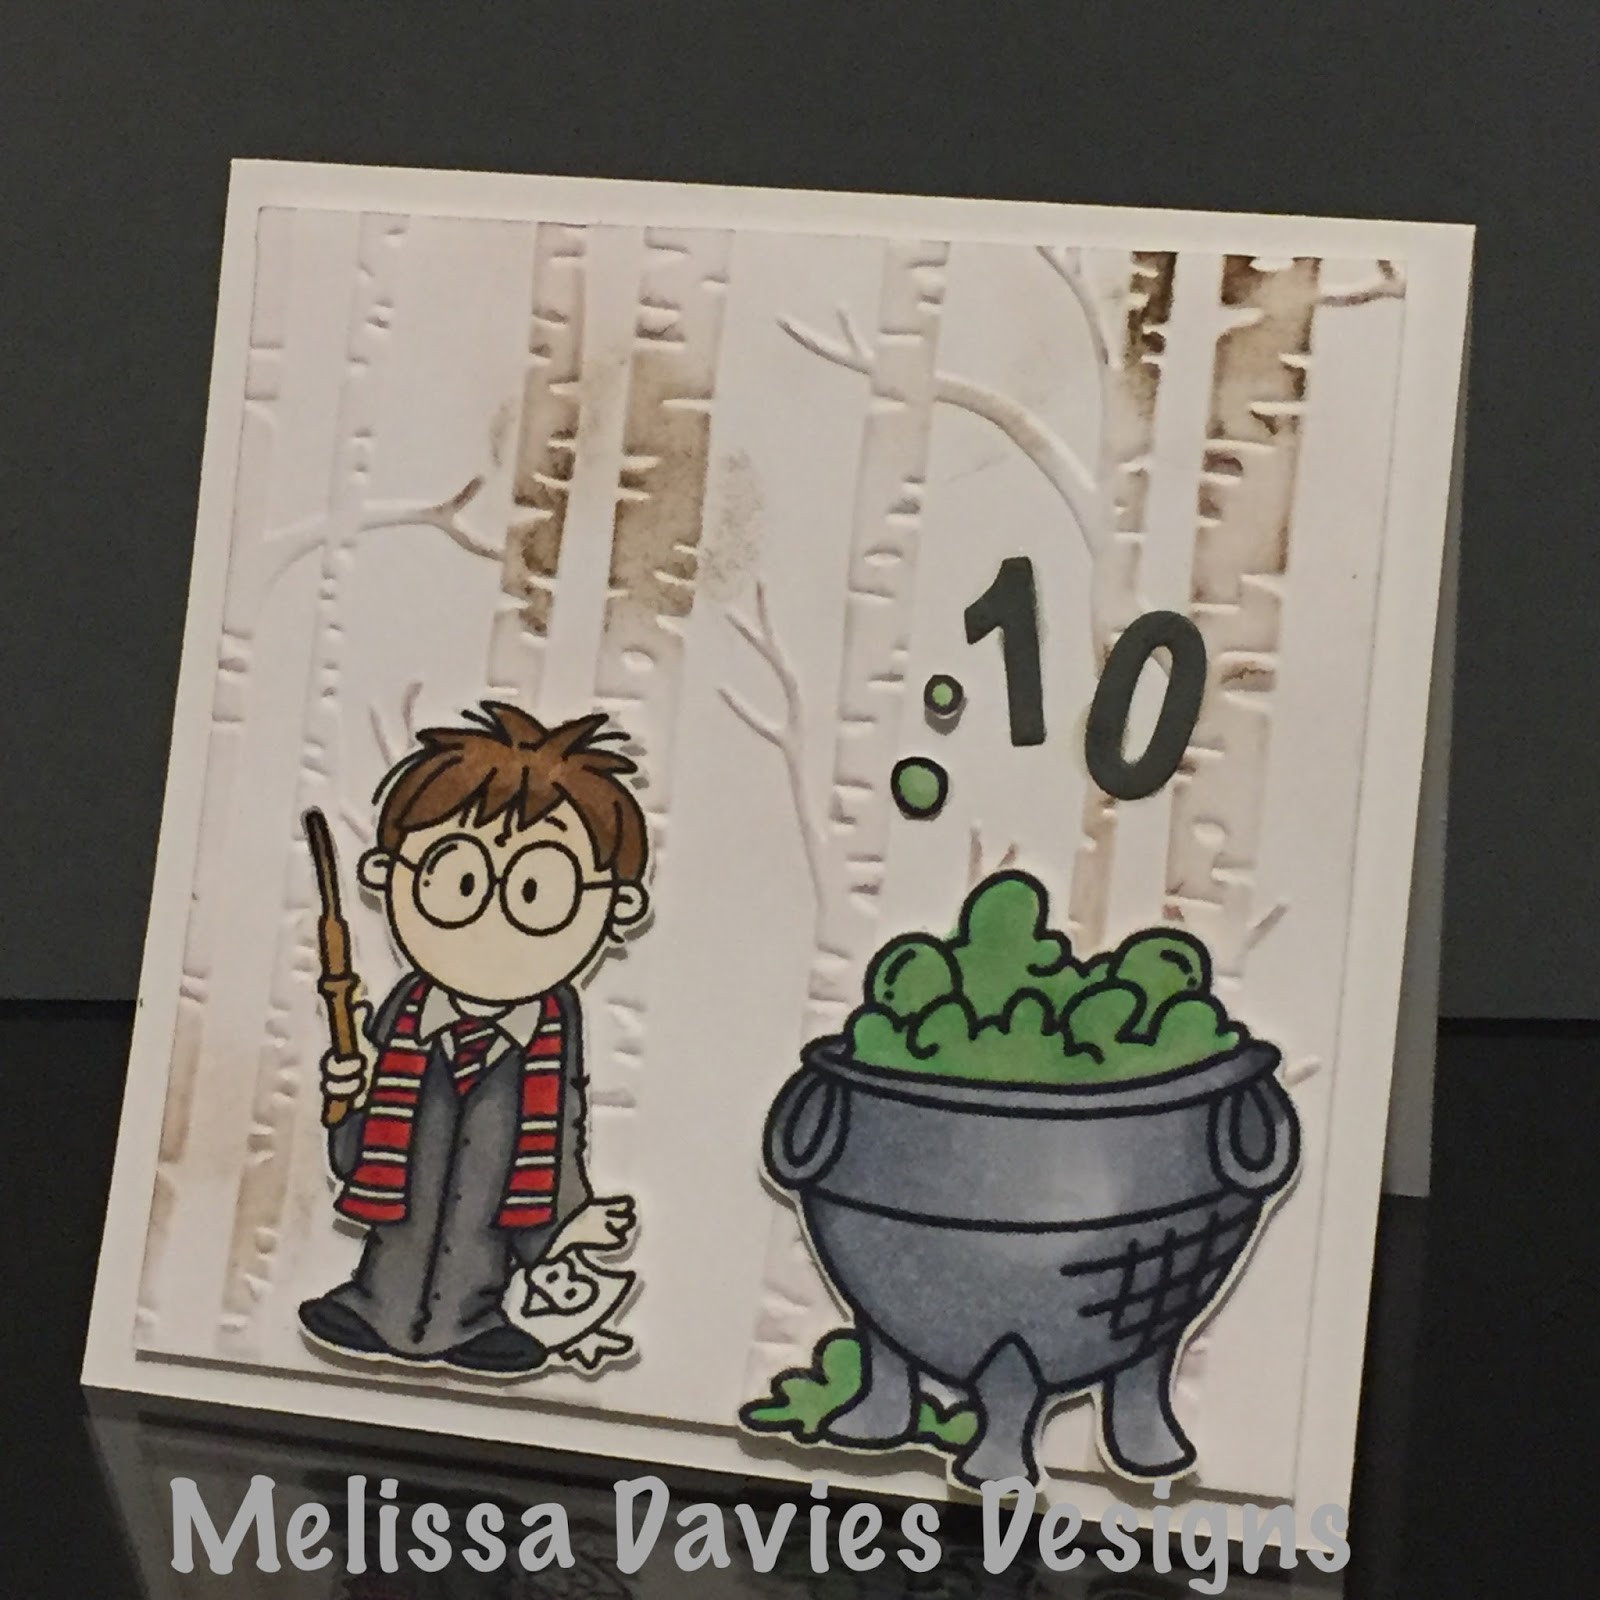
Happy birthday Harry

Wow....
My son Harry turns 10 today, I can't believe he is in double digits, wherever did that time go.
Before me is a young man now, and we are so very proud of the person he is turning into, he is kind and helpful, applies himself fully at school, and is a gentleman - for that I give credit to my hubby, he has taught Harry this by demonstrating it himself daily.

My Harry loves Harry Potter as we all do in my family, so when a friend made a card recently with Harry Potter style digi stamps,  I had to have them ha ha ha.

So I have very limited copic markers it seems (sigh) so don't mind my colouring too much, I now have another list of colours to buy lol.  I am sure my son won't know the difference.

I wanted the card to look like Harry Potter was making a '10' spell in the forest!


Monday, November 21, 2016

A Christmassy fancy fold....

I love this super cute stamp set - Its a hero arts set and it comes with 3 little elves and a die cut for them, very cute. I also spent some more time colouring with my copics for this card, added some cute little Christmas bells to add some festive detail.


How cute is this sentiment too?  It is a set from recollections.


Cardstock was Stampin' Up! real red, whisper white
Ink: Real Red, memento black, Old olive
Copics: various
Other:  Nuvo Gold, twine, mini bells


Saturday, November 19, 2016

Nice until proven Naughty.......

Its been a long while since I created a card.  A friend put me onto Bugaboo Digital stamps, and I love them, they are fun and a little sassy, and completely wonderful to colour.   My colouring sucks a lot, I haven't coloured for years, so I have a lot of work to do to get it up to scratch but I know you won't really care lol.


I did use spellbinders nestabilitites dies in this card.

It was fun, I got to colour, and hopefully I will get to colour again, will be back with another card really soon, as I have another Christmas one to share with you.

Cheers
Melissa.

Saturday, July 16, 2016

An exciting new addition to the.....

BIG SHOT!

Bet you thought I was going to say a baby!   I am so past those days ha ha, but I did receive my sizzix big shot tool caddy by courier today (yes on a Saturday)

I Love it.  It is perfect for me.


This is how it comes out of the box. I have added the front sizzix plate holder.


The plate holder is extendable

There is a tape dispenser which I keep my 3m micropore tape in now.


See the extension on the front to hold all those plates etc - LOVE IT.
It also holds my scissors, pick, roller for those fiddly dies, pens, fine precision glue and still have space left on the right side next to the tape dispenser.


Side view with how it looks, Have added the little foam mat for rolling over the dies, and the magnetic platform, precision base plate, and ca still fit in two spare clear plates if I wish.


So thats it from me for today, I have some exciting products just come in that I have stumbled across lately so hopefully will be back to share some of them really soon.
Have a wonderful day.

Saturday, June 18, 2016

A missed challenge.


Hi there, well this post is quite late, I made a card for the last challenge for JUST ADD INK, the deadline was Thursday, I just had no time to sit and edit and upload but I will share anyway.  I received a new stamp set in the mail from Altenew.  I love the quality of this stamp set and most especially I love the quality of their dies.  They seem thicker and more sturdier than others I have purchased over the years.  Anyway, less talk ha ha ha, here is my card.


Well thats it for me this week, its late I know, but its up so I at least got that far lol.
Have a great weekend eveyone.

Tuesday, June 7, 2016

Nailed It...

I have a few friends turning 40,  so I dug through my stamps and found this new set (to me) from Technique Tuesday and it had the words "nailed it" 
I loved the sentiment and it is so perfect for how I felt turning 40 and the celebrations that went with it!

I needed a starting point so I headed on over to Mojo Monday and got a design inspiration, and then went to Just Add Ink and checked out their inspiration piece.  While I couldn't do anything with the fruit, the pink tones were perfect.

The bottom layer of the shaker is a project life card from the love notes kit by we r memory keepers.  I used a stencil and some texture paste to create the raised "coffee splatter"background and stamped a happy birthday sentiment.  I wasn't happy with the raised textured part being white so ended up colouring it before assembling it all, with a bit of pink ink to make it stand out more.

I layered another die cut project life card on top of a clear piece of acetate, then onto  dimensional strips to raise it for the shaker.


I added a silver metallic doily and a clear faceted button and twine.


Thanks for looking.

Tuesday, May 31, 2016

An artsy style Birthday

I love this super cute easel board/clipboard die from reverse confetti, its super cute and I can't wait to do more with it.  The stamped image is from Technique Tuesday as are the happy birthday dies.

So I started with a rough wash of distress inks.  I then stamped dots over the ink wash.

Die cut and added the dies over the wash section, added the happy birthday diecuts and was nearly finished.
SOme cute little additions to this card were using crystal effects on the water section of the water in the vase, white gel pen to highlight the easel board, and finally, the little black dot over the "i" in birthday was made using ranger black enamel (I love this product)


Cute isn't it?  I just coloured the flowers in roughly with distress markers, it didn't need to be perfect as that wasn't the look I was going for.

Thats it for now